Categories
Roles
Manage Your Team with Custom User Roles
Taskudoo empowers you to define clear roles and permissions for your team members, ensuring everyone has the appropriate level of access to projects and information. This article guides you through creating and managing custom user roles within Taskudoo.
Establishing a Role-Based System:
A well-defined user role system streamlines project management and information security. Taskudoo allows you to create custom roles tailored to your specific team structure and project needs.
Creating Custom User Roles:
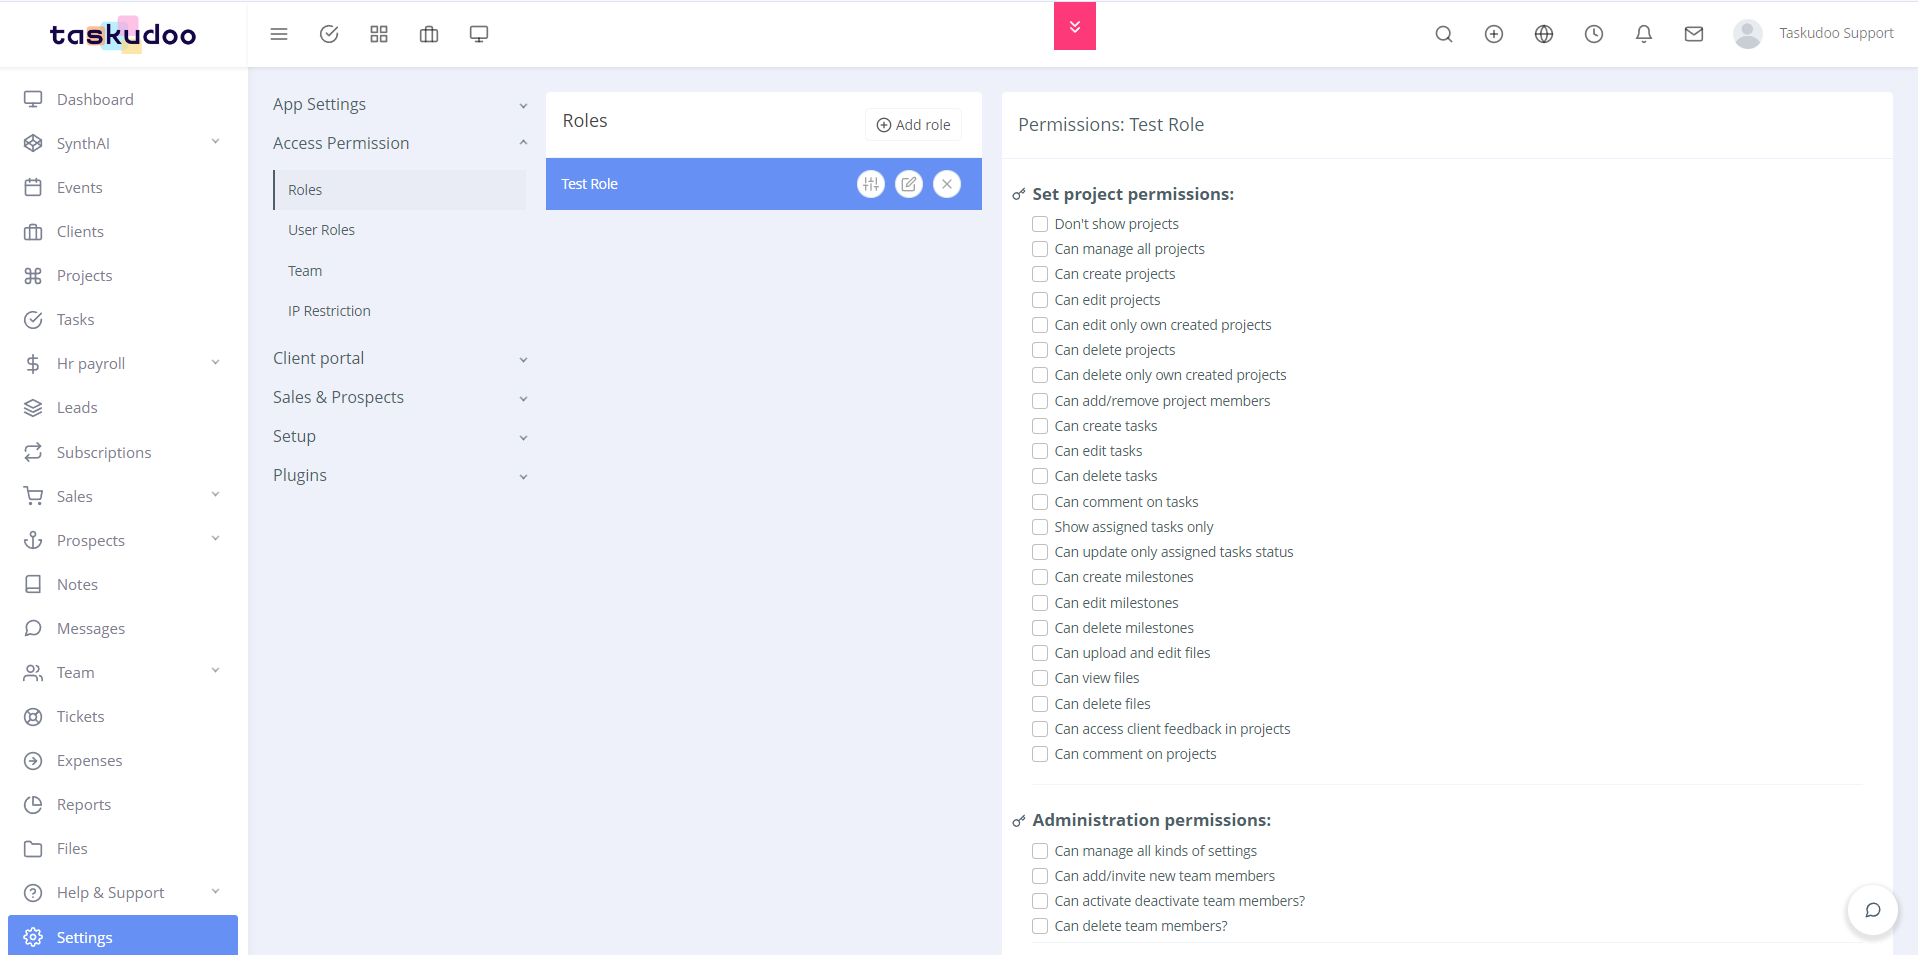
- Navigate to the Access Permission Section: Locate the section within Taskudoo dedicated to managing user accounts and permissions. This might be labeled "Users," "Teams," or similar terminology.
- Access the Role Management Feature: Look for an option to create or manage user roles. This could be a button labeled "Roles," "Permissions," or something similar.
- Add a New Role: Click the designated button to add a new role (e.g., "Add Role").
- Define the Role Name: Assign a clear and descriptive name to the new role (e.g., "Content Creator," "Project Manager," "Client").
- Save the New Role: Once you've named the role, save it to add it to your list of user roles.
Assigning Permissions to User Roles:
After creating custom roles, you can define the specific permissions associated with each one. Here's a general breakdown of permission categories you might encounter (specific options may vary depending on your Taskudoo plan):
- Read: Permissions allowing users to view information within projects and tasks.
- Edit: Permissions enabling users to modify existing information within projects and tasks.
- Write: Permissions granting users the ability to create new elements within projects and tasks (e.g., adding new tasks, comments, files).
- Delete: Permissions allowing users to delete information within projects and tasks.
- Admin: High-level permissions granting extensive control over projects, user management, and other administrative functions. (Use with caution!)
Granting Permissions:
- Select the Role: Choose the custom role you want to edit permissions for.
- Permission Settings: Locate the section where you can define permissions for the chosen role. This might be a table, a list of options, or a dedicated settings area.
- Assign Permissions: For each permission category (Read, Edit, Write, etc.), choose the appropriate level of access for the selected role. Options might include "Full Access," "Limited Access," or "No Access."
- Save Permission Changes: Once you've configured permissions for the role, save your changes to apply the settings.
Remember:
- A well-defined user role system ensures data security and assigns clear ownership of tasks and projects within your team.
- Grant permissions judiciously, based on each team member's responsibilities and required level of access.